


In this blog, I am not going to go into which terminal is best instead, I am just going to use the default built-in terminal, not that it will matter much for this setup. While this blog is focused on the Mac terminal I also use the same plugins and themes in my Linux terminals.
The install
go to https://ohmyz.sh/#install and copy either their curl or wget
I used curl to install Oh My Zsh on my Mac
Adding plugins
By default, Oh My Zsh only comes with the Git plugin installed but I liked to add a few more that help me speed up my work. To see all the plugins available check out their documentation. Each plugin has its install instructions but I will take you through the ones I use.
These are just like code snippets in VS Code where you type in an abbreviation like dcupd and it runs the command docker compose up -d
docker-compose
This is very useful if you need to use Docker and run various commands regularly the plugin can be found on GitHub
Install this plugin is very easy all you need to do is open your .zshrc file in your favourite editor I used VS Code. On line 73, I added docker-compose to the plugins so my line now looks like plugins=(git docker-compose)
npm
Next on my list is the npm plugin which can be found at https://github.com/ohmyzsh/ohmyzsh/tree/master/plugins/npm
Just like the docker-compose plugin this just requires adding to the plugins so it now looks like plugins=(git docker-compose npm)
While these two have been very straightforward as they were official plugins, my next two are not so require a few more steps.
zsh-syntax-highlighting
This gives some nice highlighting when entering a command so if the command is a valid command it turns green while invalid commands are red. This plugin can be found at their GitHub repo https://github.com/zsh-users/zsh-syntax-highlighting/blob/master/INSTALL.md
As I am on a Mac I ran brew install zsh-syntax-highlighting as I already had homebrew installed
Zsh-autosuggestions
My final plugin is an auto suggestion plugin. This lets you auto-complete a command if you have typed it before or it can fill in folder names as you type. This is handy if you need to go back to the same folder over and over. When working on a project this was a time saver in the morning when I was going into the same folder every day.
This plugin can be found at https://github.com/zsh-users/zsh-autosuggestions
This is very similar to the highlighting plugin in that we start with installing it through homebrew brew install zsh-autosuggestions then at the end of your .zshrc file add source $(brew --prefix)/share/zsh-autosuggestions/zsh-autosuggestions.zsh for me, this was on line 103
The last two plugins have detailed instructions on how to install them on numerous different operating systems so it is worth checking out.
It is also worth pointing out that the oh my zsh has a lot more official plugins on their site so I would recommend going through them and seeing which ones can help make your life easier and quicker.
Changing the theme
For the Theme I chose amuse and it was as simple are replacing the theme name in the .zshrc file
ZSH_THEME="amuse"
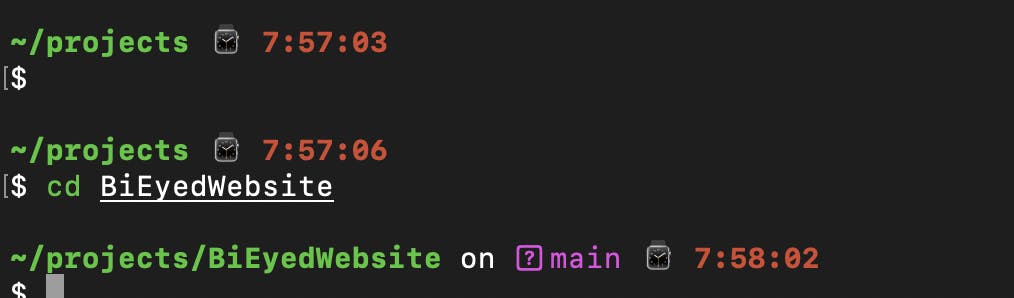
So now my terminal looks like
I have left some links below to other themes that I like but with so many to choose it can be hard to settle on one.
https://github.com/agnoster/agnoster-zsh-theme